Embark on a journey of building your own computer with ‘How to Build a PC: 12 Steps to Assembling Your Own Computer’ as your guide. Explore the intricacies of PC assembly with expert tips and tricks awaiting you.
Learn about the essential components, tools required, and step-by-step instructions for a seamless build process. Get ready to dive into the world of PC building like never before.
Overview of PC Building Process
Building your own PC can be a rewarding experience, but it requires careful planning and execution. Following a step-by-step guide is crucial to ensure that all components are assembled correctly, leading to a fully functional computer system.
Basic Components Needed to Build a PC
- Processor (CPU): The brain of the computer responsible for processing instructions.
- Motherboard: The main circuit board that connects all components together.
- Memory (RAM): Temporary storage for data that the CPU needs to access quickly.
- Storage (HDD/SSD): Permanent storage for the operating system, programs, and files.
- Power Supply Unit (PSU): Supplies power to all components in the system.
- Graphics Card (GPU): Handles graphics processing for visual output.
- Case: Enclosure that houses and protects all components.
Tools Required for Assembling a Computer
- Screwdriver: Needed to secure components to the case and motherboard.
- Anti-static wrist strap: Prevents static electricity from damaging sensitive components.
- Cable ties: Helps with cable management for better airflow and aesthetics.
- Thermal paste: Ensures proper heat transfer between the CPU and its cooler.
- Flashlight: Assists in seeing components in low-light conditions inside the case.
Step-by-Step Guide for Assembling a PC
Building your own PC can be a rewarding experience, but it requires careful attention to detail. Follow these 12 steps to ensure a successful assembly process.
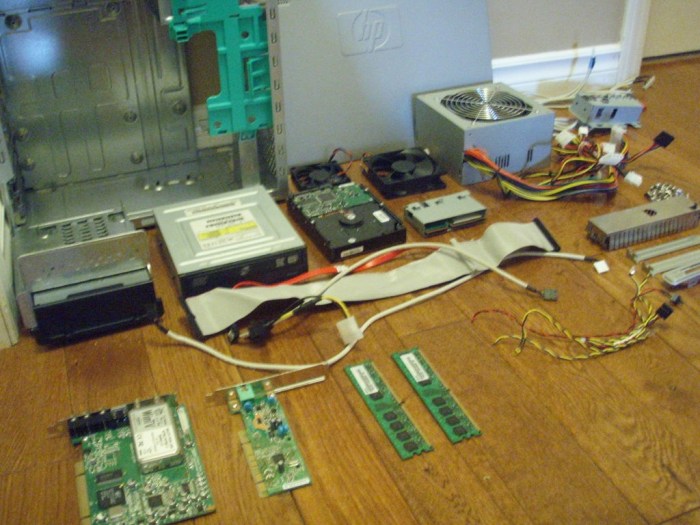
Gather Your Components
Before starting the assembly, make sure you have all the necessary components: motherboard, CPU, GPU, RAM, storage, power supply, case, and any additional peripherals.
Prepare Your Workspace
Clear a large, flat surface to work on and gather all the tools you’ll need, such as a screwdriver, cable ties, and an antistatic wrist strap to prevent damage from static electricity.
Install the CPU
Carefully align the CPU with the socket on the motherboard, gently lower it into place, and secure it with the socket lever. Be cautious not to bend any pins during this process.
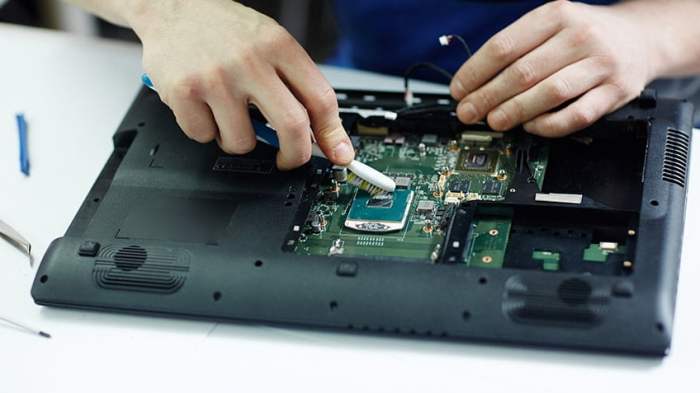
Mount the CPU Cooler
Apply thermal paste to the CPU, then attach the cooler according to the manufacturer’s instructions. Ensure that the cooler is securely mounted to prevent any overheating issues.
Insert RAM Modules
Unlock the RAM slots on the motherboard, align the notches on the RAM sticks with the slots, and firmly press them into place. Make sure they click securely in place.
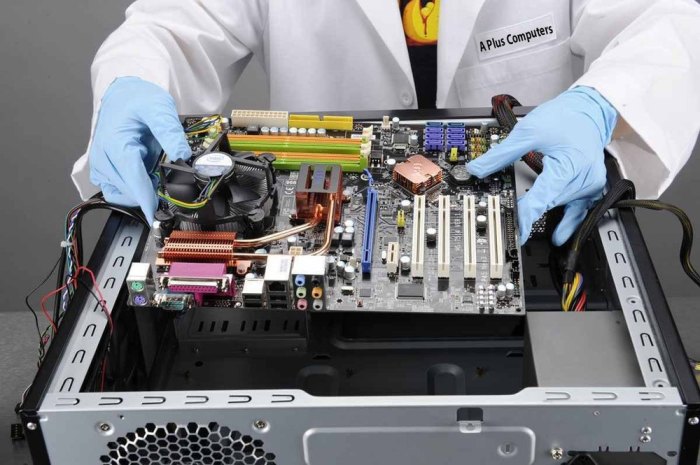
Install the Motherboard
Carefully place the motherboard into the case, aligning the standoffs with the pre-installed mounting holes. Secure the motherboard with screws to prevent any movement.
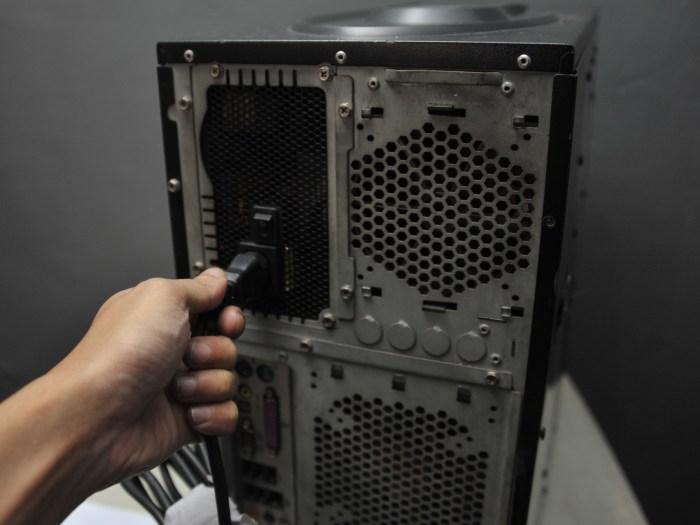
Connect Power Supply
Attach the necessary power cables from the power supply to the motherboard, CPU, GPU, and storage devices. Ensure all connections are secure to avoid power issues.
Install Storage Devices
Mount your storage devices (SSD, HDD) in the designated drive bays within the case. Connect the SATA data and power cables to the motherboard and devices.
Connect Front Panel Cables
Refer to the motherboard manual to correctly connect the front panel cables (power switch, reset switch, HDD LED, etc.) from the case to the appropriate headers on the motherboard.
Install GPU
Insert the GPU into the PCIe slot on the motherboard, ensuring it clicks into place. Secure the GPU with screws to the case, and connect any necessary power cables.
Check Connections and Power On
Double-check all connections to ensure everything is properly connected. Power on your PC to see if it boots up correctly. If not, troubleshoot by checking connections, components, and power supply.
Install Operating System
Once your PC successfully boots up, install your preferred operating system (Windows, Linux, etc.) from a USB drive or disk. Follow the on-screen instructions to complete the installation.
Tips and Tricks for Building a PC
When it comes to building your own PC, there are several tips and tricks that can make the process smoother and more efficient. From selecting compatible components to optimizing airflow and cooling, paying attention to these details can result in a better overall build.
Recommendations for Selecting Compatible Components
Choosing compatible components is crucial to ensure that your PC functions properly. Here are some tips to help you select the right components:
- Check the motherboard specifications to ensure compatibility with the CPU, RAM, and GPU you plan to use.
- Verify the power supply unit (PSU) wattage and connectors to support all components.
- Consider the form factor of your components to ensure they fit in your chosen PC case.
- Research and read reviews to ensure compatibility and performance of components.
Benefits of Cable Management in a PC Build
Proper cable management not only improves the aesthetics of your build but also has functional benefits. Here’s why cable management is important:
- Improved airflow: Organizing cables allows for better airflow, reducing the risk of overheating components.
- Easier maintenance: Neat cables make it easier to access components for upgrades or maintenance.
- Prevents damage: Tangled cables can obstruct fans or components, leading to potential damage over time.
- Professional look: A clean and organized interior not only looks better but also shows attention to detail in your build.
Optimizing Airflow and Cooling in the Final Build
Optimizing airflow and cooling is essential to keep your components running efficiently and prevent overheating. Here are some tips to optimize airflow and cooling in your PC build:
- Position fans strategically to create a positive airflow path through the case.
- Use high-quality thermal paste when installing the CPU cooler to ensure optimal heat transfer.
- Add case fans or consider liquid cooling solutions for components that generate a lot of heat.
- Clean dust filters regularly to prevent dust buildup, which can obstruct airflow and cause overheating.
Wrap-Up
In conclusion, mastering the art of building a PC is within your reach with the detailed guide provided. From component selection to troubleshooting, you are now equipped to create your dream computer setup. Start your journey to PC building success today!