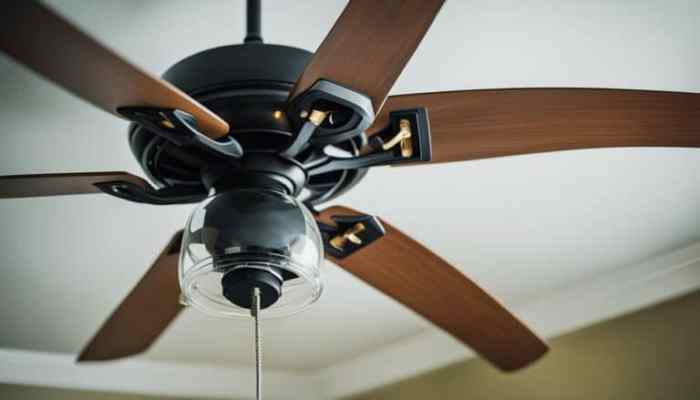
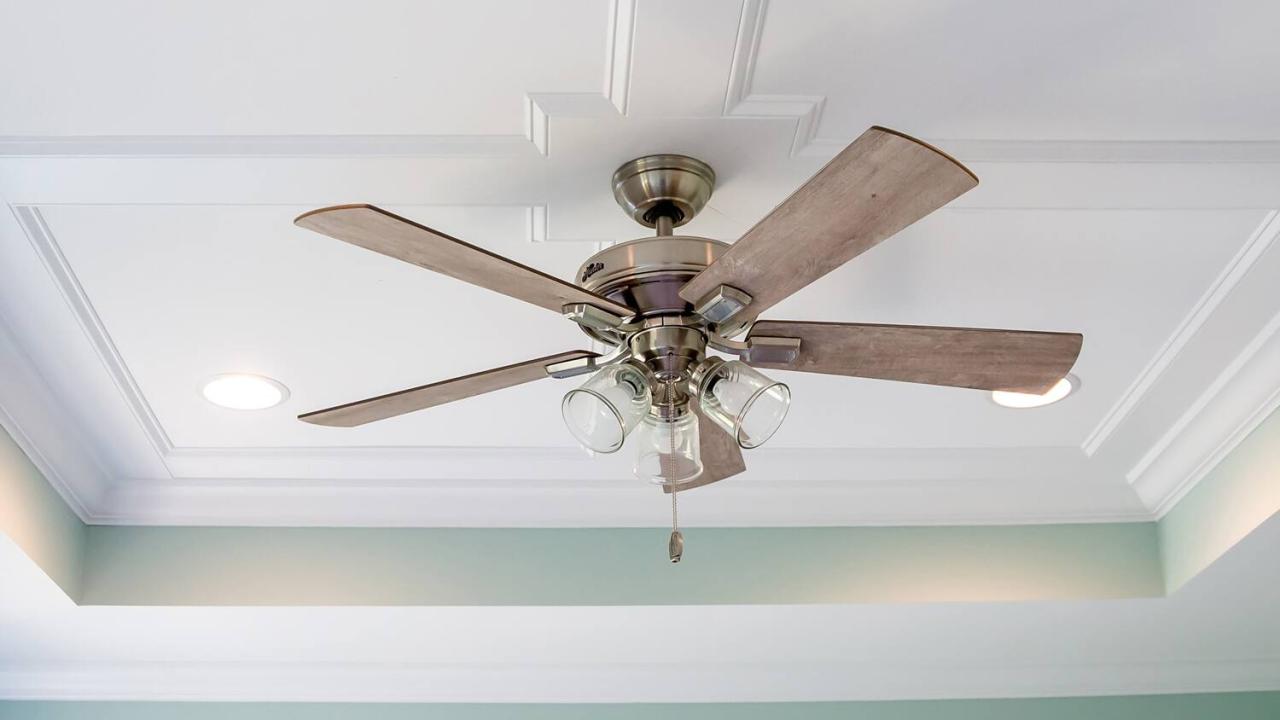
Embark on a journey to create a breezy home with our guide on How to Install a Ceiling Fan: 8 Steps for a Breezy Home. Discover the key to enhanced air circulation and energy efficiency in your living space.
Explore the tools needed, materials required, and a step-by-step installation guide to make the process seamless and enjoyable.
Introduction to Ceiling Fan Installation

Having a ceiling fan in your home is not only a stylish addition to your decor but also serves a practical purpose. Ceiling fans help in air circulation, keeping the room cool and comfortable, especially during hot summer months.
Benefits of Installing a Ceiling Fan
- Improved air circulation throughout the room, creating a more comfortable environment for occupants.
- Energy efficiency by reducing the need for air conditioning, thus lowering energy costs.
- Enhanced ventilation which helps in maintaining indoor air quality.
Reducing Energy Costs with a Ceiling Fan
One of the significant advantages of installing a ceiling fan is its ability to reduce energy costs. By using a ceiling fan in conjunction with your air conditioning system, you can set your thermostat higher without sacrificing comfort. This can lead to substantial savings on your energy bills in the long run.
Tools and Materials Required

Installing a ceiling fan requires a specific set of tools and materials to ensure the process goes smoothly. Here is a list of what you will need:
Tools Needed:
- Screwdriver (typically Phillips-head)
- Wire stripper
- Ladder or step stool
- Adjustable wrench
- Wire nuts
- Pliers
- Voltage tester
- Stud finder
Types of Ceiling Fans:
- Standard Ceiling Fans: Traditional design with 3-5 blades and a light fixture.
- Hugger Ceiling Fans: Flush to the ceiling, ideal for low ceilings.
- Pendant Ceiling Fans: Suspended from a downrod, perfect for high ceilings.
- Dual Motor Ceiling Fans: Two motors for increased airflow.
- Outdoor Ceiling Fans: Designed to withstand outdoor elements.
Materials Required:
- Mounting brackets
- Ceiling fan blades
- Screws and bolts
- Wire nuts
- Ceiling fan motor
- Downrod (if needed for height)
Step-by-Step Installation Guide

Installing a ceiling fan can seem daunting, but with the right guidance, it can be a breeze. Here is an overview of the 8 steps involved in installing a ceiling fan:
1. Turn off the Power Supply
Before you start the installation process, it is crucial to turn off the power supply to the ceiling fan. This step ensures your safety and prevents any electrical accidents during the installation.
2. Assemble the Ceiling Fan Components
Once you have turned off the power, you can start assembling the ceiling fan components. This includes attaching the blades, motor, and the light kit according to the manufacturer’s instructions. Make sure to follow the provided manual carefully to ensure proper installation.
Final Thoughts

Elevate your home comfort with a newly installed ceiling fan by following the 8 simple steps Artikeld here. Say goodbye to stagnant air and hello to a refreshing breeze throughout your home.